Steps to install SSIS in Visual Studio 2019.
visual studio 2019 SSIS, visual studio 2019 SSIS project
visual studio 2019 SSIS toolbox empty, visual studio 2019 SSIS extension, SSIS package for visual studio 2019, SSIS tools for visual studio 2019

How to install SSIS in Visual Studio 2019
Below is the step by step guide of How to install SSIS package for visual studio
Step-1
Open visual studio 2019
If you have not installed VS-2019 you can refer my previous article.
You can also install SSIS at the time of installation, this article is dedicated to after installation of visual studio 2019
If you want to install during VS 2019 installation click on the below image option
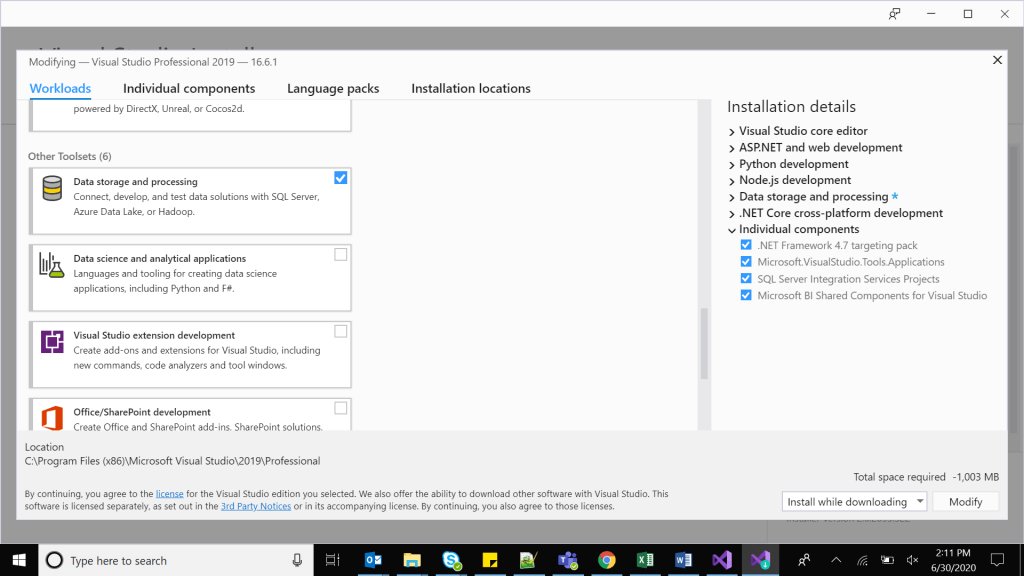
visual studio 2019 SSIS project
After VS studio 2019 installation
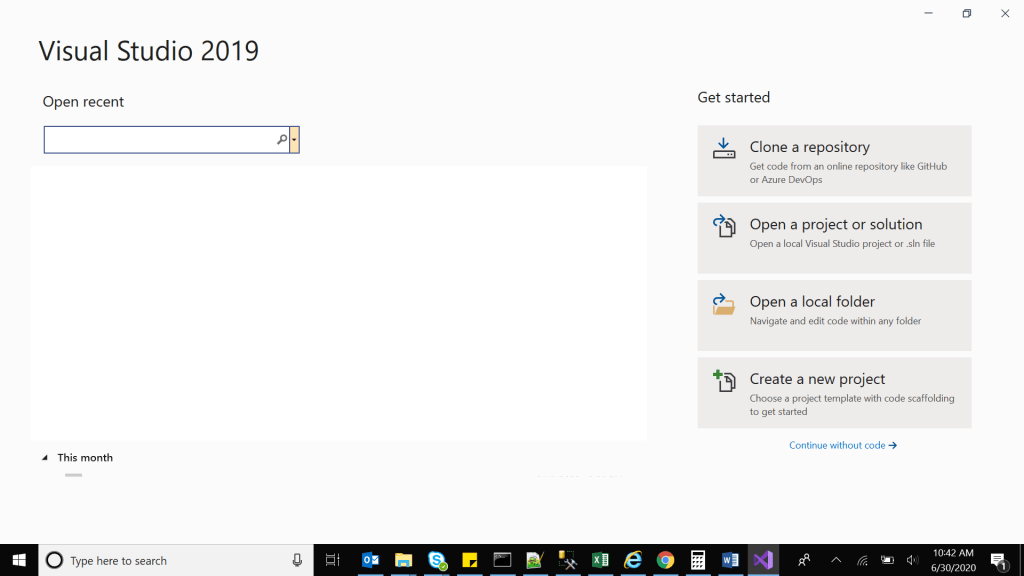
Visual Studio 2019
Step-2
Create a Blank Project

Create a blank visual studio 2019 project
Step-3
Add visual studio 2019 SSIS extension
Click on Manage Extension, a new pop up window will open
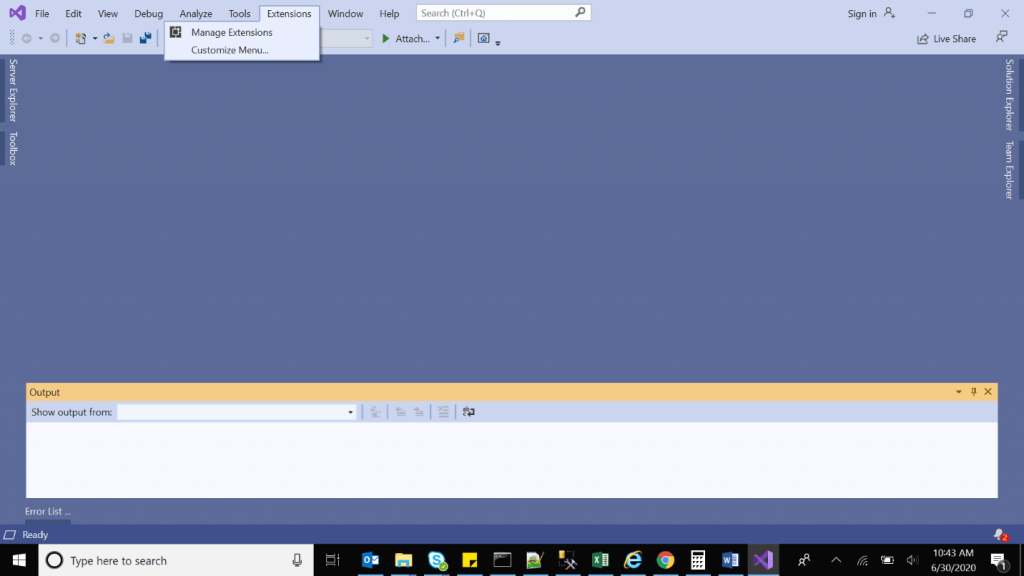
visual studio 2019 SSIS extension
Step-4
Search Integration services in the search text box
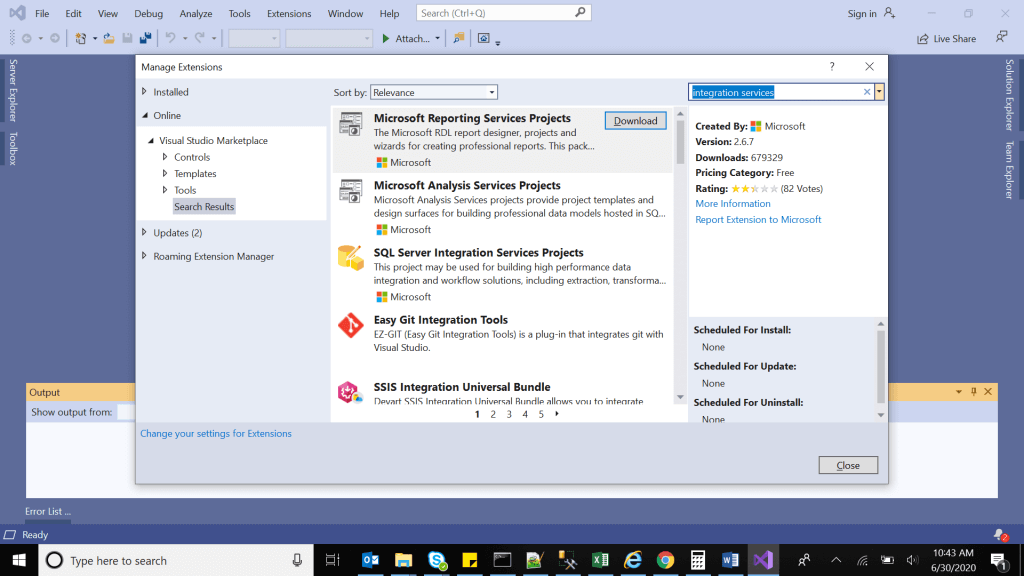
SSIS Integration services in VS 2019
Step-5
Download SQL Server Integration services
- Open your download Folder
- Run SQL Server Integration services
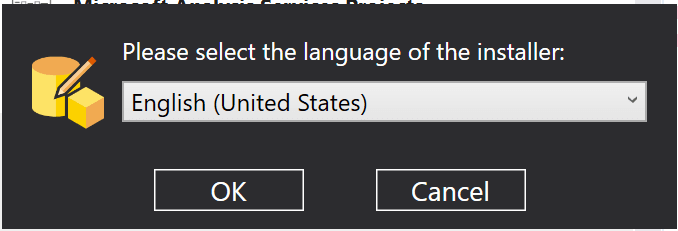
Run SQL Server integration services
Click On Next
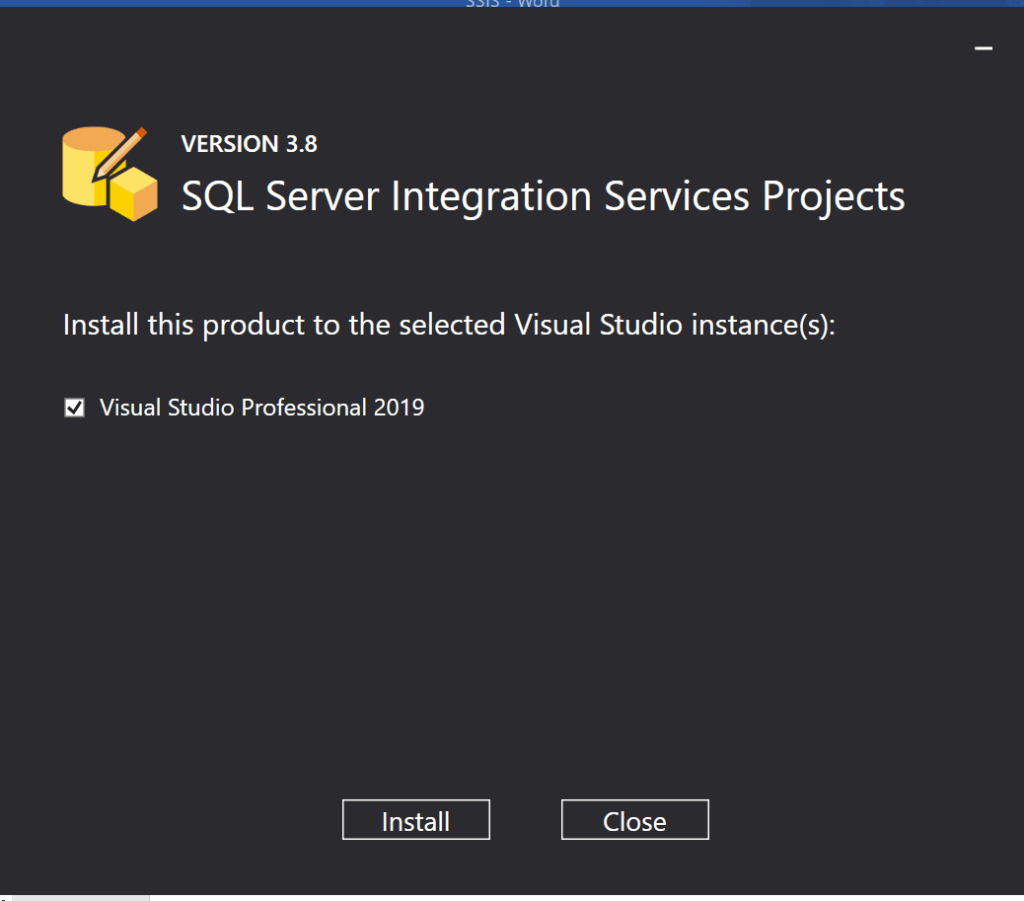
visual studio 2019 SSIS
Wait untill setup completed
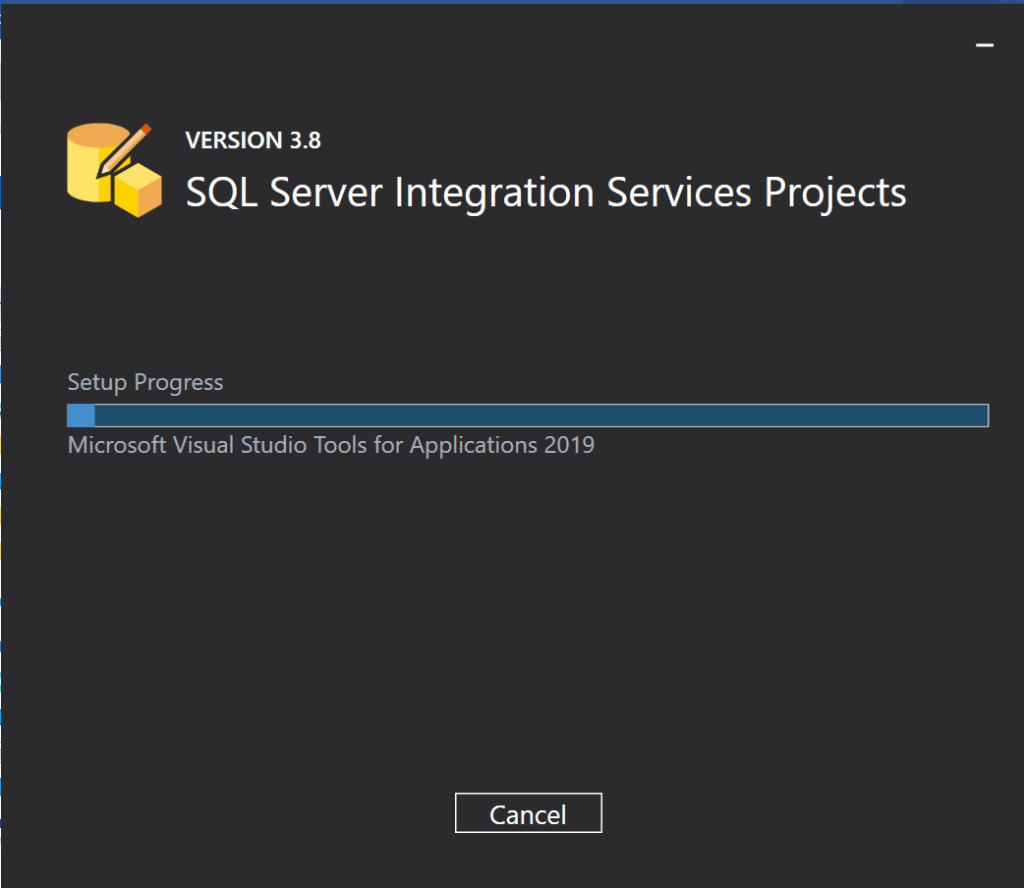
Run SQL Server integration services- Process
Setup completed

Run SQL Server integration services- Completed
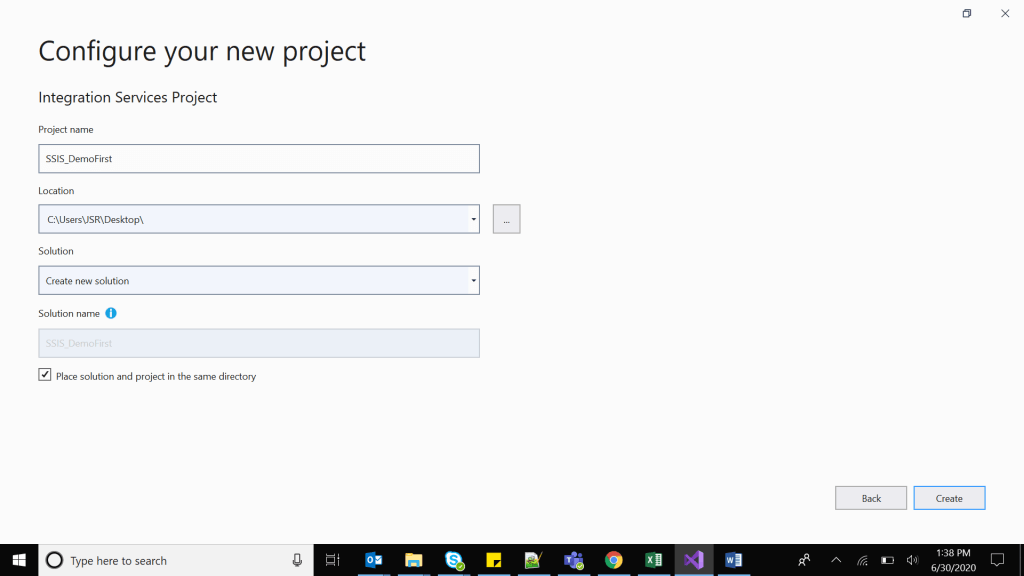
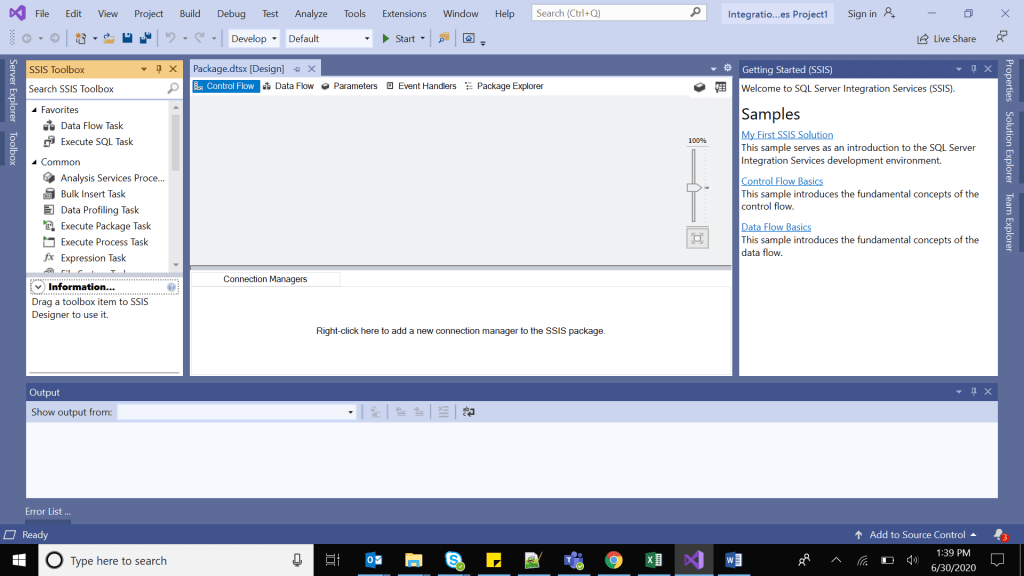
Now Create visual studio 2019 SSIS project
- Create a Blank Project
- Search for Integration Services
- Search for Integration Services- Click Next
Add Name in visual studio 2019 SSIS toolbox empty
visual studio 2019 SSIS toolbox empty
visual studio 2019 SSIS project is created
visual studio 2019 SSIS extension
Conclusion
- First install SQL Server Intergation in your project
- Run the SQL SSIS file
- Crate a blank project
- Search for SSIS Integartion in serach text box
- Create the project
You can read my previous article through below link
How to install AngularJS in visual studio 2019
Operator in Java


Recent Comments