How to install AngularJS in visual studio 2019
How to create an AngularJS project in visual studio
In this article, you will learn how to install in AngularJS in visual studio 2019 and also we are going to learn below the point
-
What is AngularJS
-
How to create an AngularJS project in visual studio code
-
Angularjs link & Libraries
-
We will create a small Hello world project in visual studio in 2019.
-
ng build in visual studio in 2019

How to install AngularJS in visual studio 2019
AngularJS is maintained by Google and it’s an open-source framework for front end application development or we can say it’s an extensible version of javascript.
AngularJS is used to develop SPAs (Single Page Application).
Why we use AngularJS
Why use AngularJS instead of some Scripting library/language? Below are some of the features of AngularJS.
- Simple for development
- Injectable
- Form Validation
- Fast Server Communication
- Two-way Data binding
- Great MVC structure
- Unit testing Ready
Prerequisites / Development Environment
-
- Visual studio 2019
- AngularJS
![]() Download AngularJS Or we can use visual studio NuGet package manager
Download AngularJS Or we can use visual studio NuGet package manager
Steps to install AngularJS in visual studio 2019
Hopefully, you have to download the visual studio, if you not then please download the visual studio first.
Step: 1
Open the visual studio then click on Create a new project
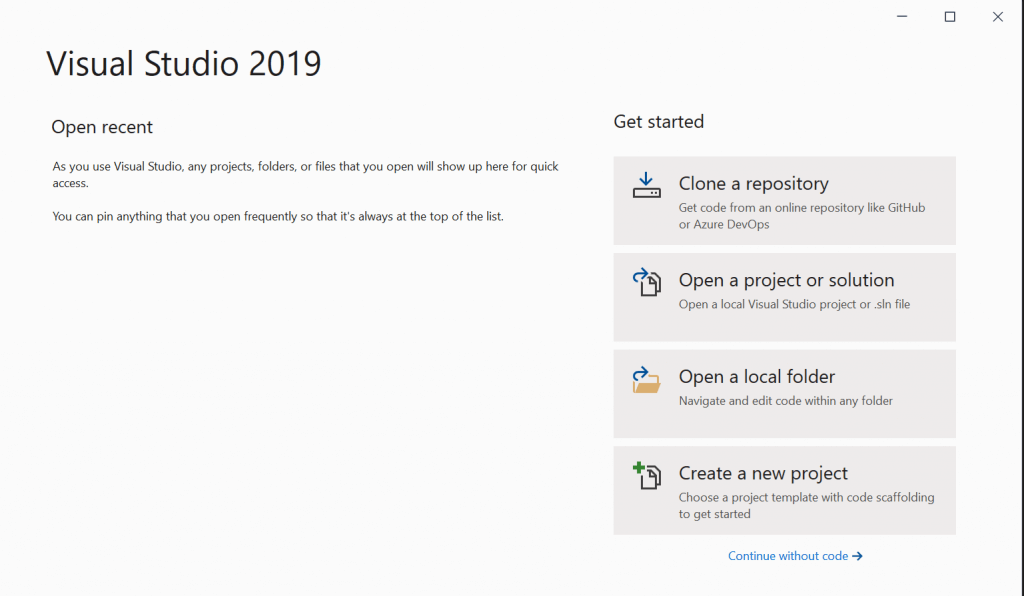
How to Open VS Studio
Step: 2
After Click a new pop up window is open, it will show various kinds of projects. Choose Asp.Net web application (.Net Framework) as shown in below image
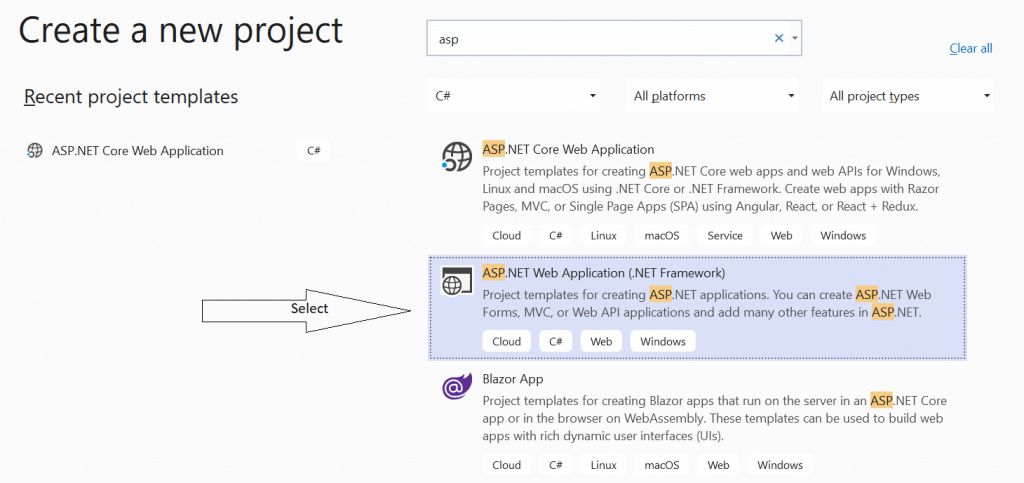
Steps 2 to install AngularJS Project in VS2019
Step: 3
Write the project Name “AngularAppDemo” and click on the Create button
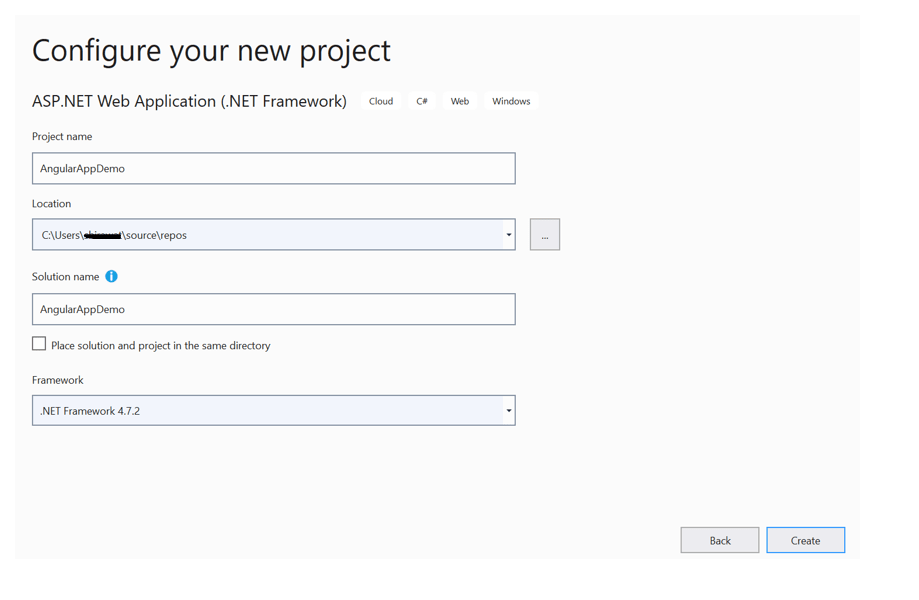
AngularJS Project in VS2019
After click on the Create button a new pop up window is open, then click on the Empty project
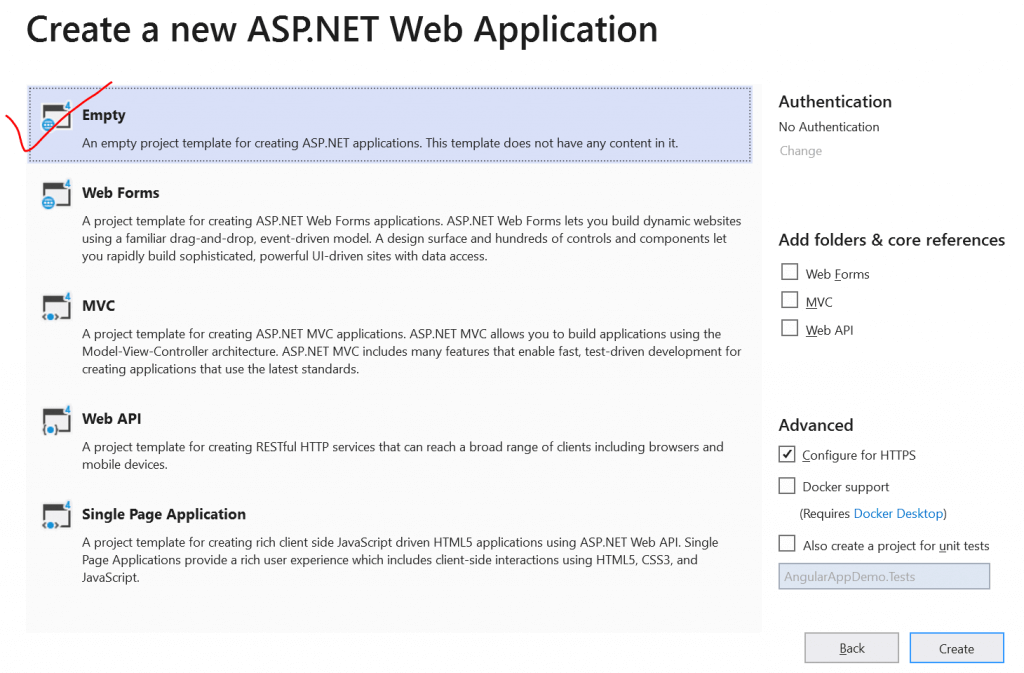
AngularJS Installation steps in VS2019
Step: 4
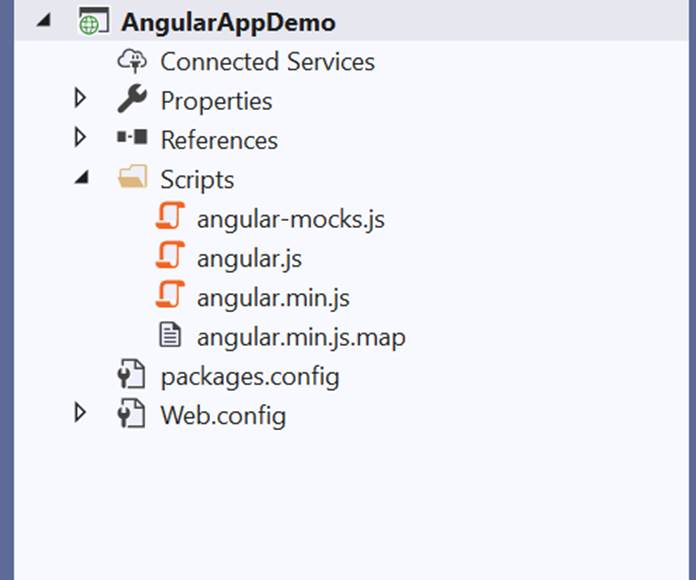
Your Empty project is created, in this project few file you have seen like
- AngularAppDemo this is your solution File under the solution there are various file
- Property
- References
- package.config
- Web.config
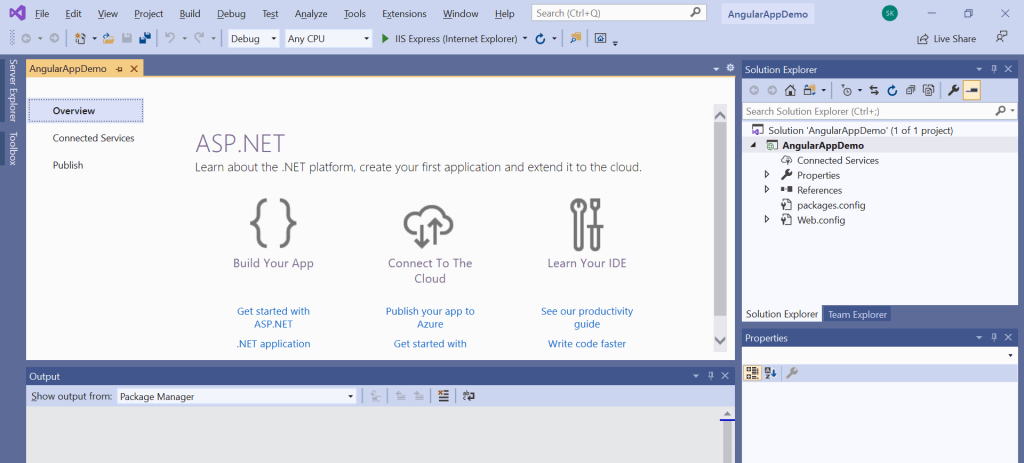
AngularJS Installation steps in VS2019
Step: 5
Now you have to install AngularJS in visual studio 2019
For AngularJS installation below are some steps, I will explain to you every step.
- Right-click on project
- Choose Manage NuGet packages
- In the search Console type AngularJS
- Once the AngularJS package will be displayed
- Click on Install Button
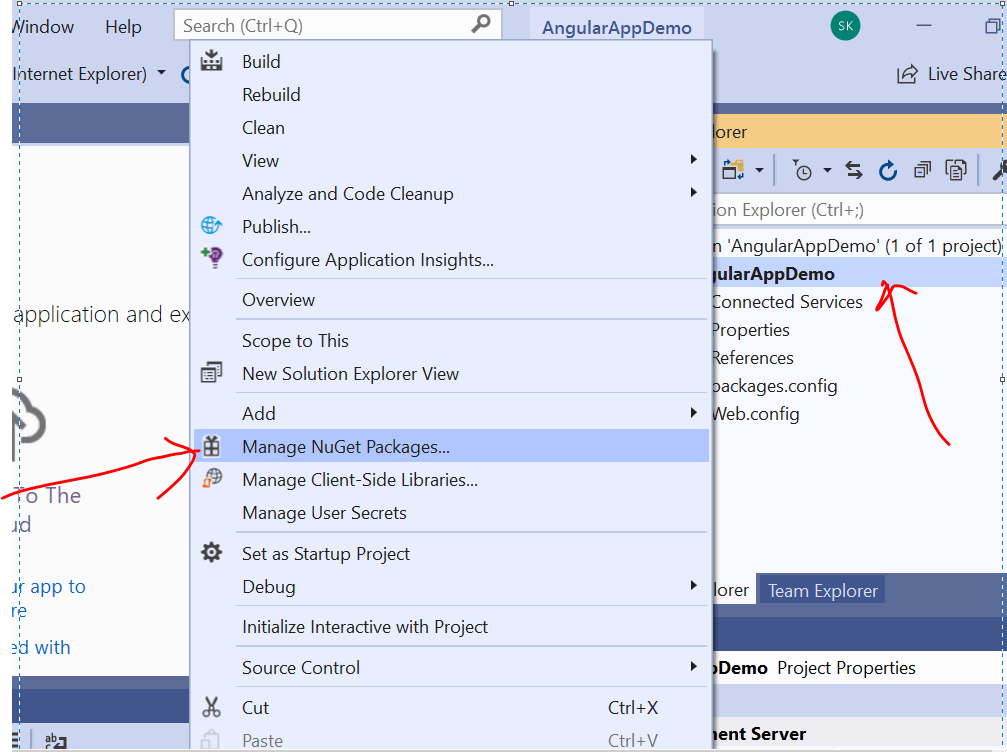
AngularJS Installation steps in VS2019
Step: 5.1
Search for AngularJS
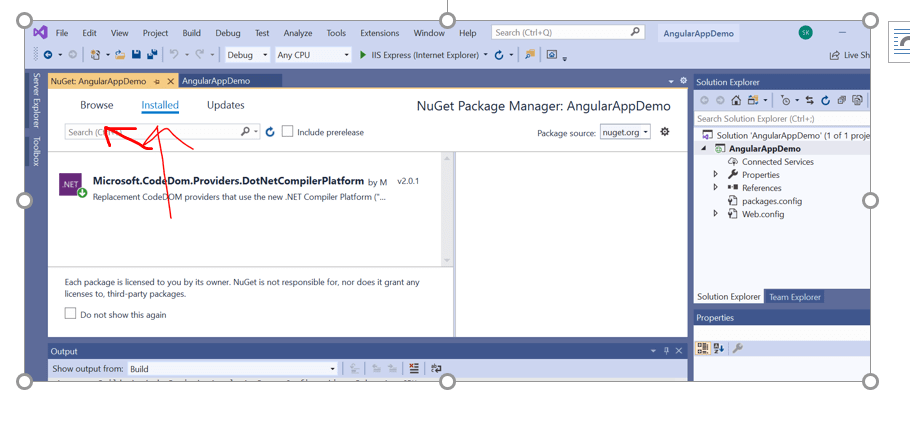
AngularJS Installation steps in VS2019
Step: 5.2 Install AngularJS
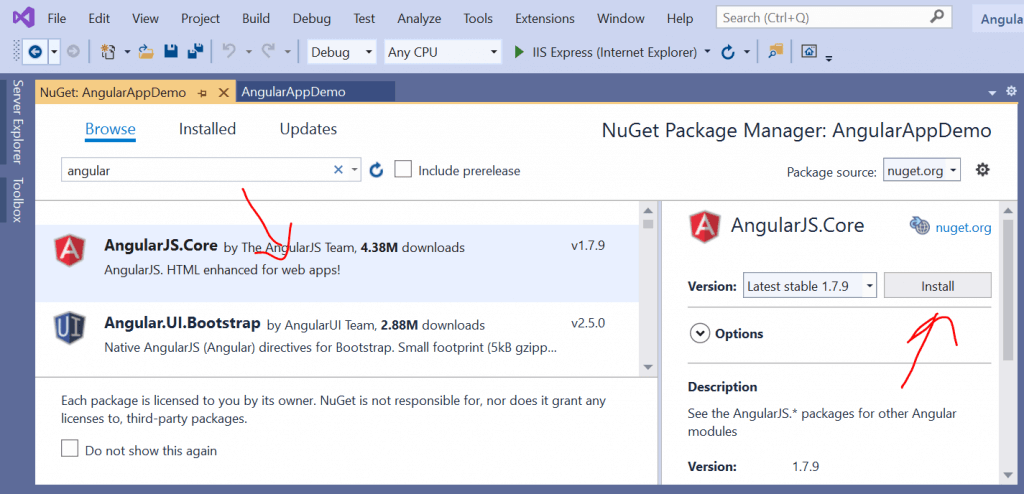
AngularJS Installation steps in VS2019
Step: 5.3 Install AngularJS
Preview Changes prompt is open, ignore that and click on OK button

Preview Changes prompt is open
AngularJS is installed successfully
AngularJS Installation steps in VS2019
Step: 6
Create a Simple Application in AngularJS
Steps
We have created an AngularDemoApplication
- Right-click on the solution explorer
- Add a new HTML page (HomePage)
- Below is the code
<!DOCTYPE html>
<html>
<head>
     <meta charset="utf-8" />
    <title></title>
</head>
<body>

</body>
</html>
- Add Angular file using drag and drop in Head Section
- Then code look like as below
<!DOCTYPE html>
<html>
<head>
    <script src="Scripts/angular.js"></script>
    <meta charset="utf-8" />
    <title></title>
</head>
<body ng-app>
    <h2>Hi This is my First Angular Application </h2>
    10+20 :  {{10+20 }}
</body>
</html>
- Right-click on HTML Page
- Select in Browser
OutPut

AngularJS First Application
Conclusion
How to install AngularJS in VSCode 2019 in Simple 5 Steps
- Download Visual studio 2019
- Create an Empty project
- Using NuGet package Manger install AngularJS
- Create a Blank HTML File
- View the page in the browser
You Can read my previous article about Operator in Java


Recent Comments